

Filament desiccant canister
Introduction
The quality of filaments used for 3D printing is adversely affected by moisture from the air humidity penetrating the printing filament. Therefore, it is important to ensure the right environment during storage, thereby extending their usability. A common way to do this is to place the spools in a vacuum bag, supplemented using some kind of desiccant.
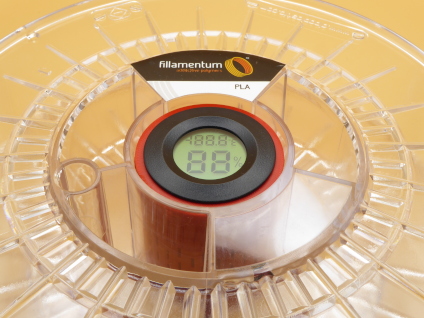
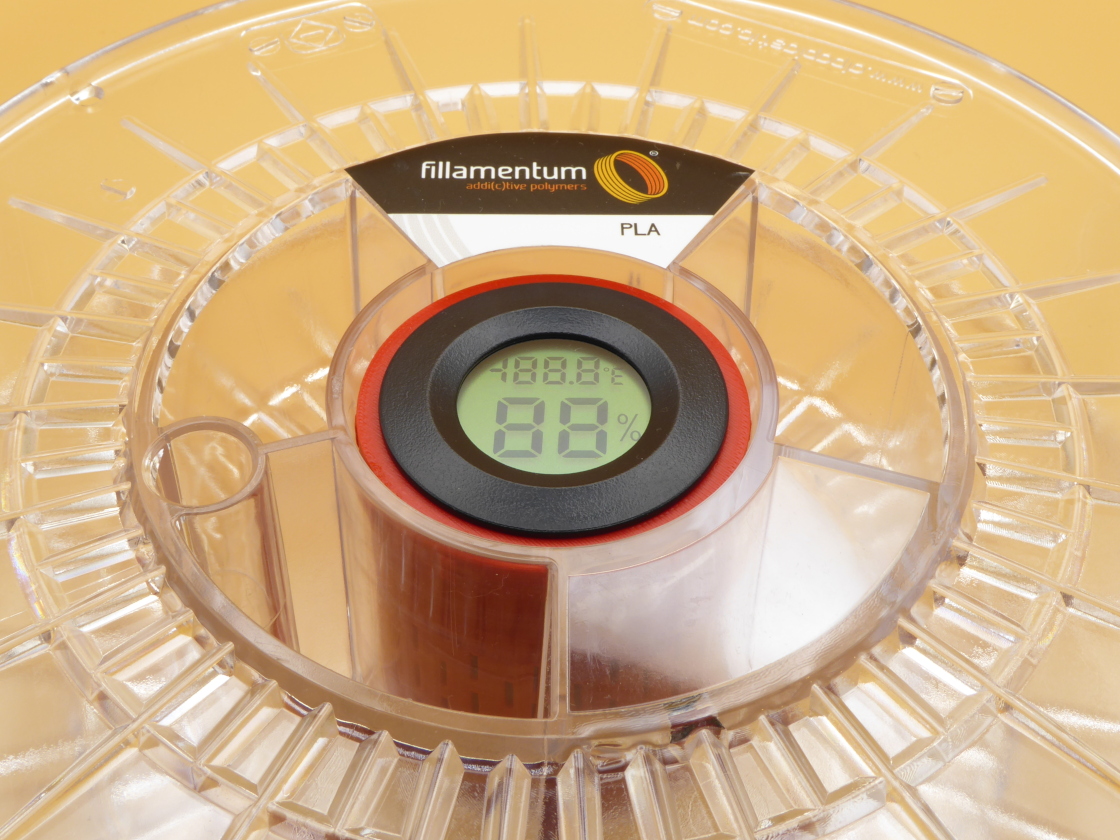
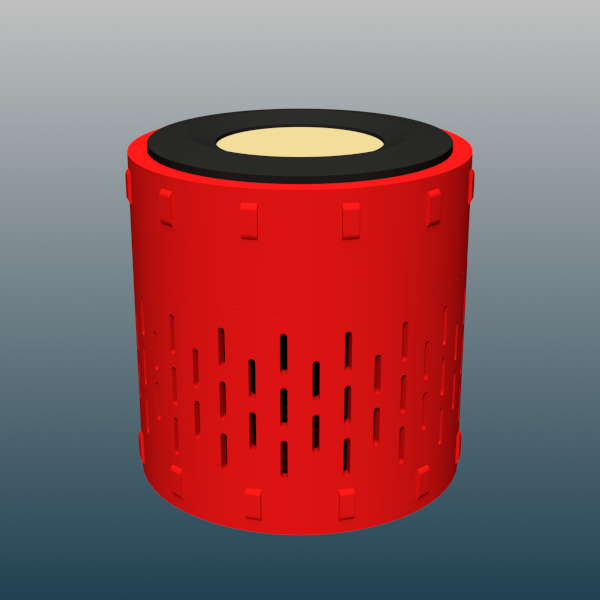
The device presented here offers a solution to this problem, taking advantage of the empty opening in the center of the spool during storage. The canister consists of two parts that are connected by a thread. The bottom part can hold the desiccant, and the top part can be equipped with a ready-made humidity measuring instrument.
Bottom part
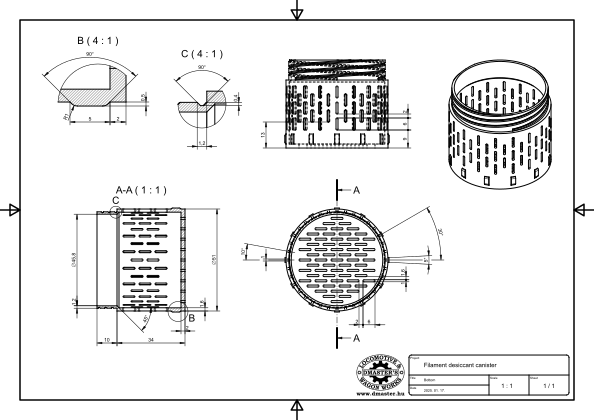
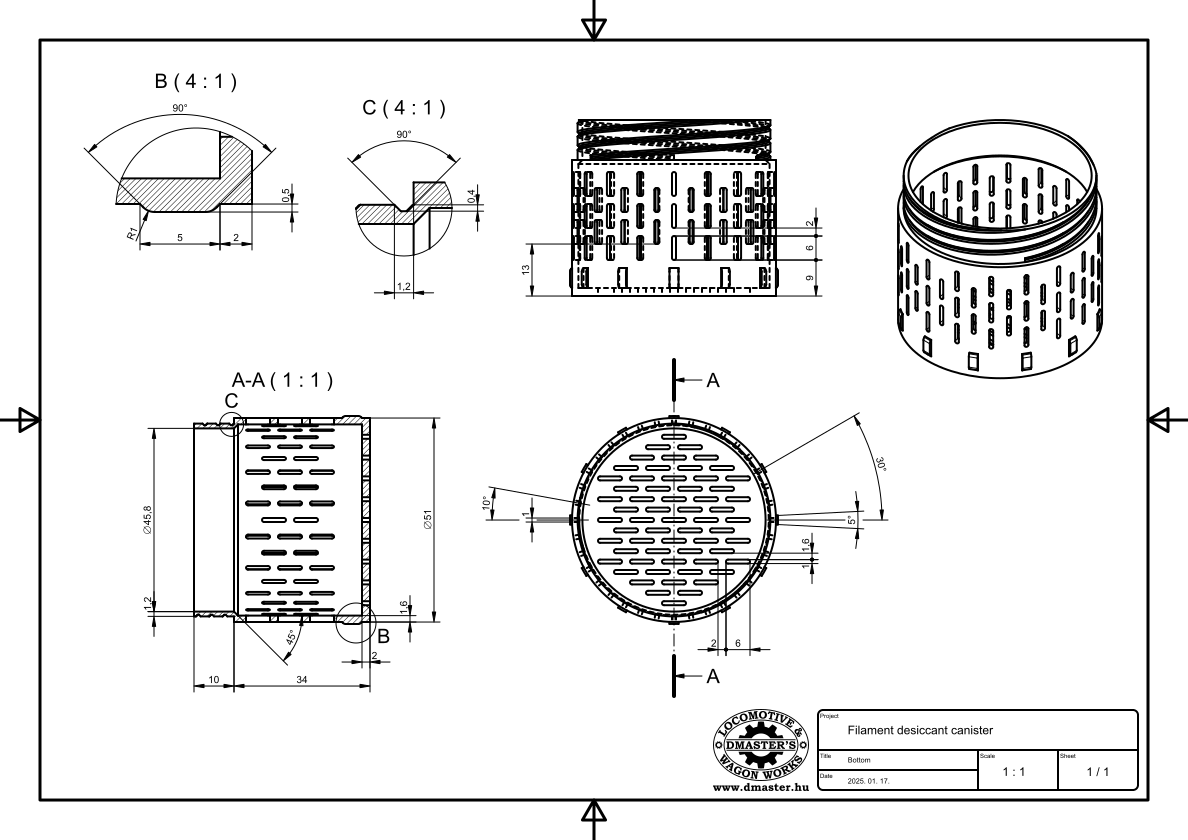
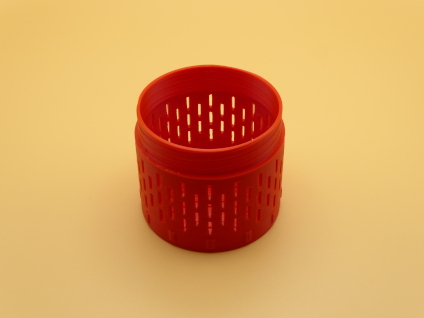
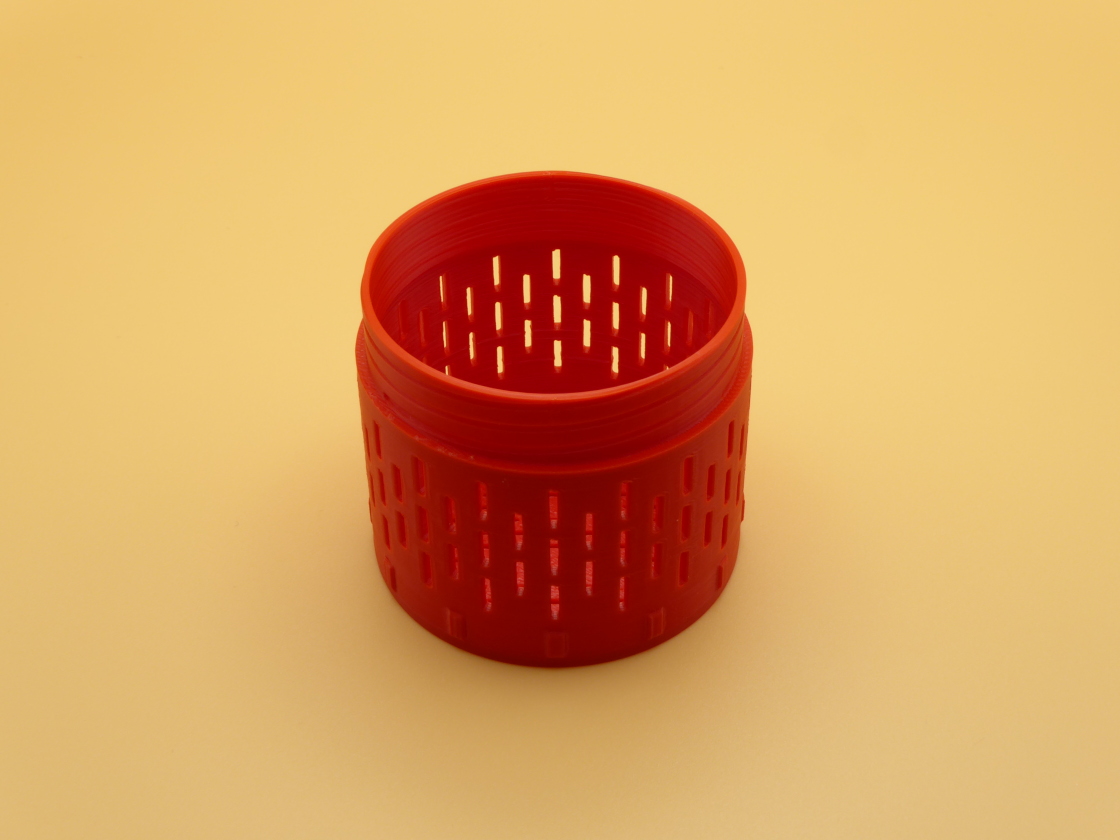
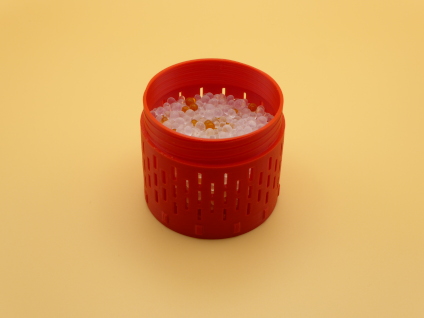
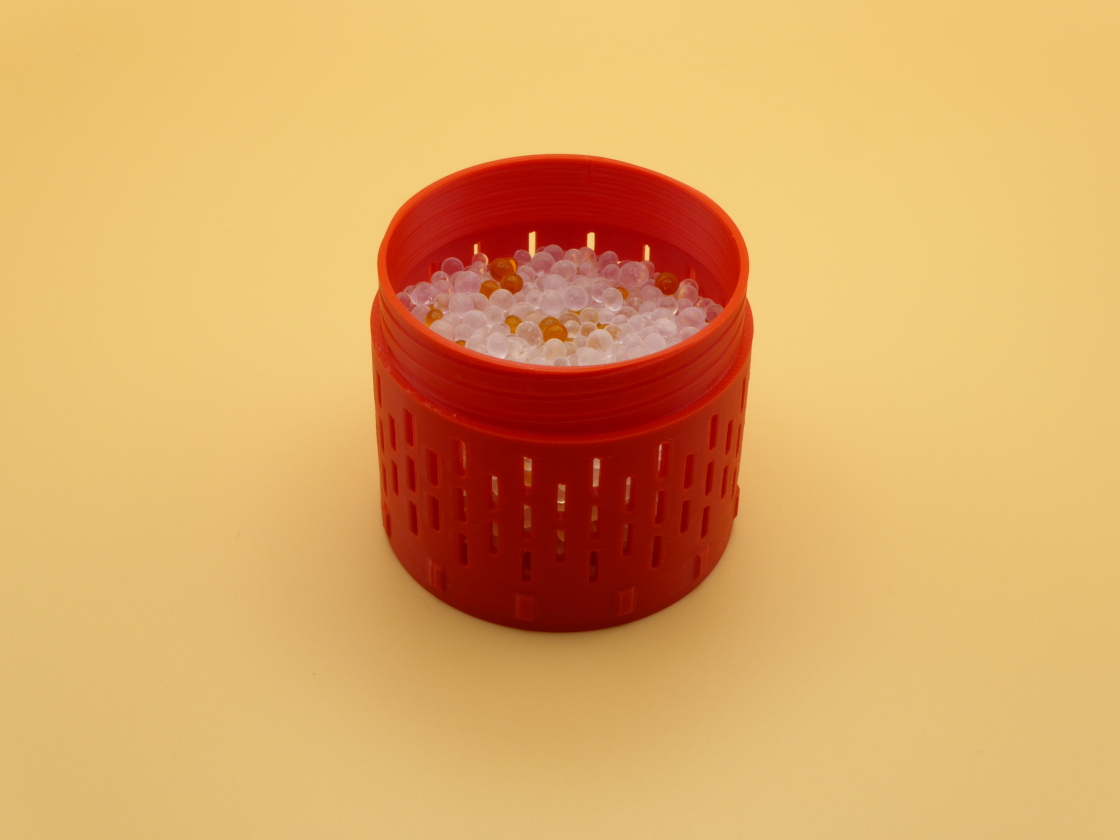
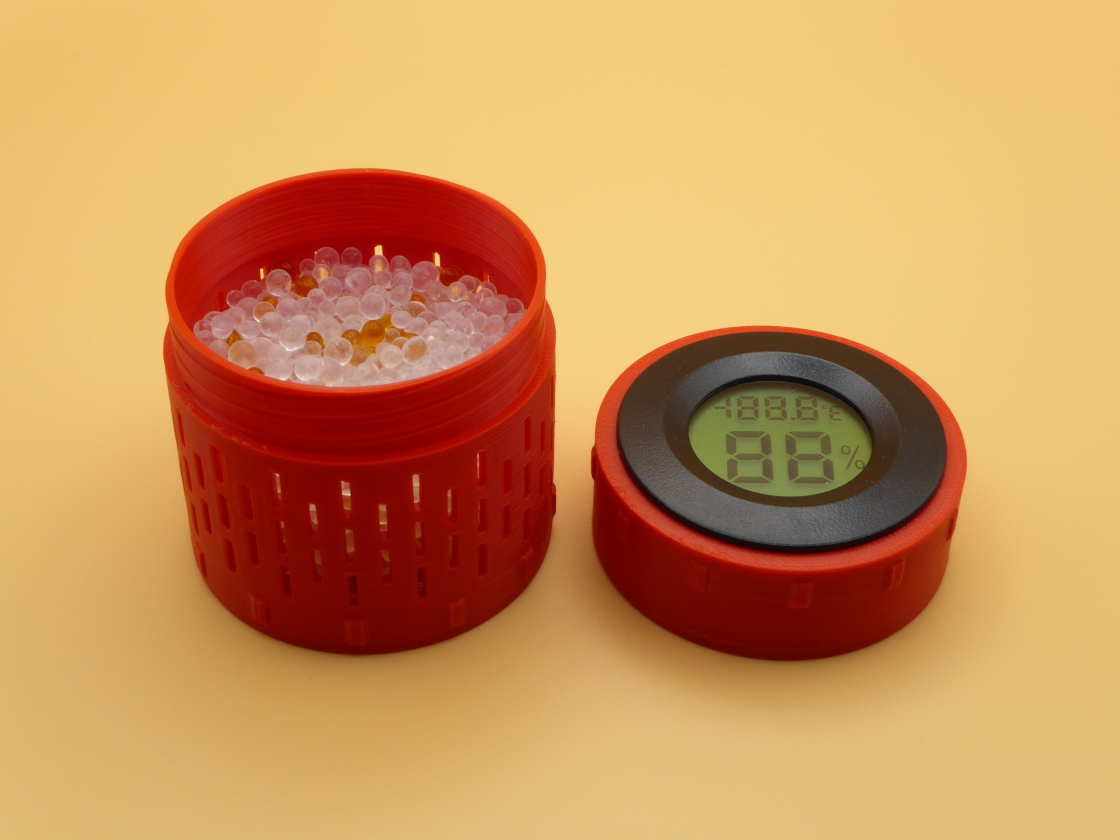
The bottom part of the canister is used to hold the desiccant, it can contain approximately 45 g of silica gel. Openings at the bottom and sides allow air to flow. Ribs running around the base act as spacers, providing a gap between the canister wall and the inside of the spool. A three-start, custom sized thread on the upper rim ensures connection to the top part of the canister.
Top part
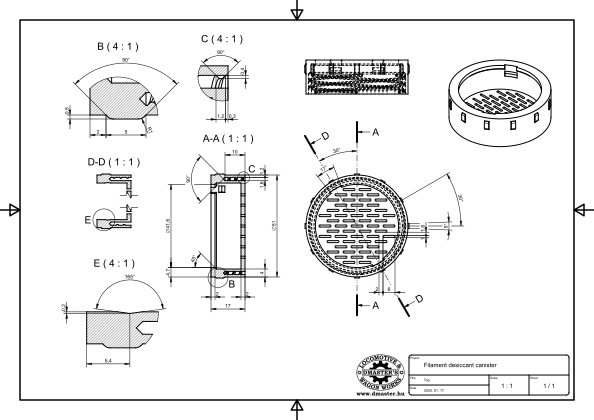
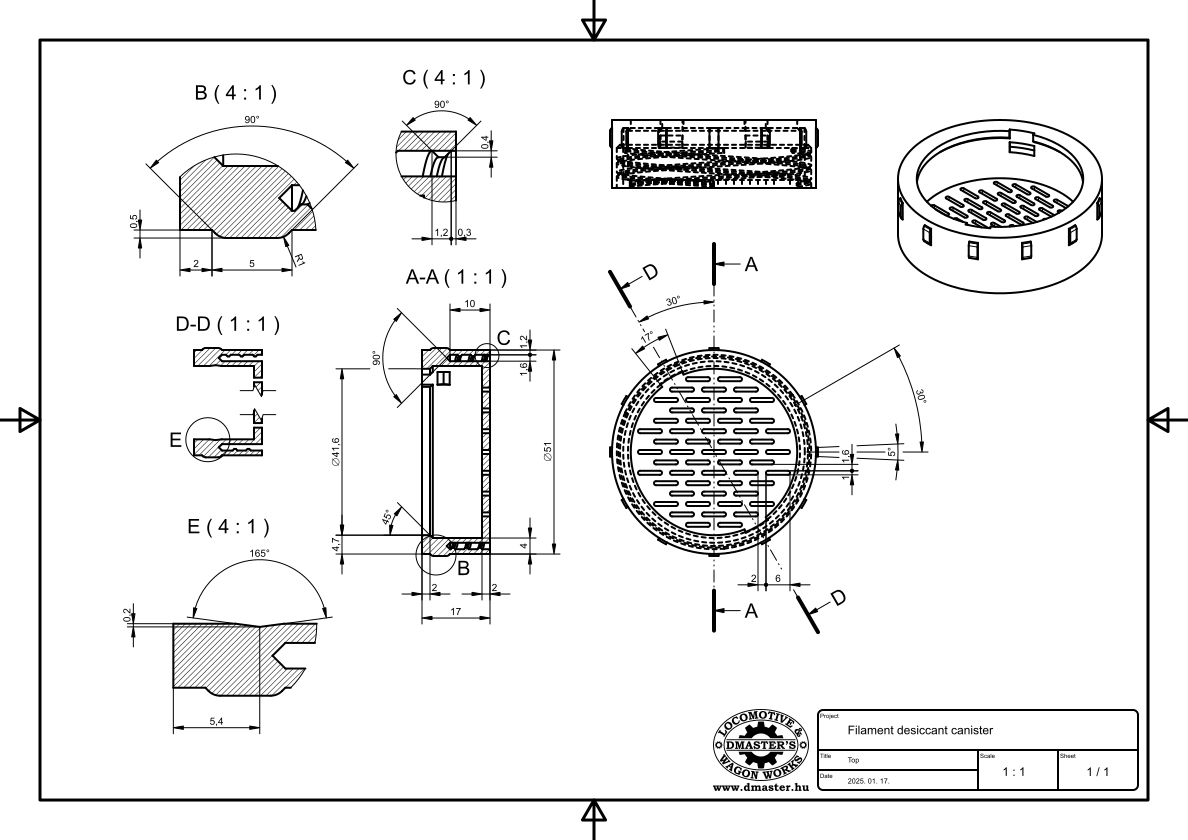
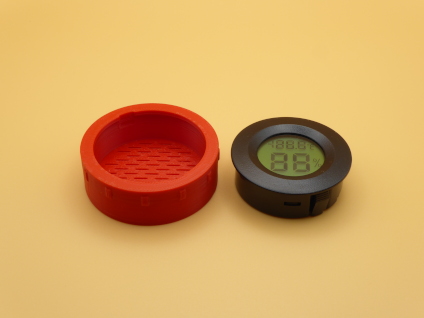
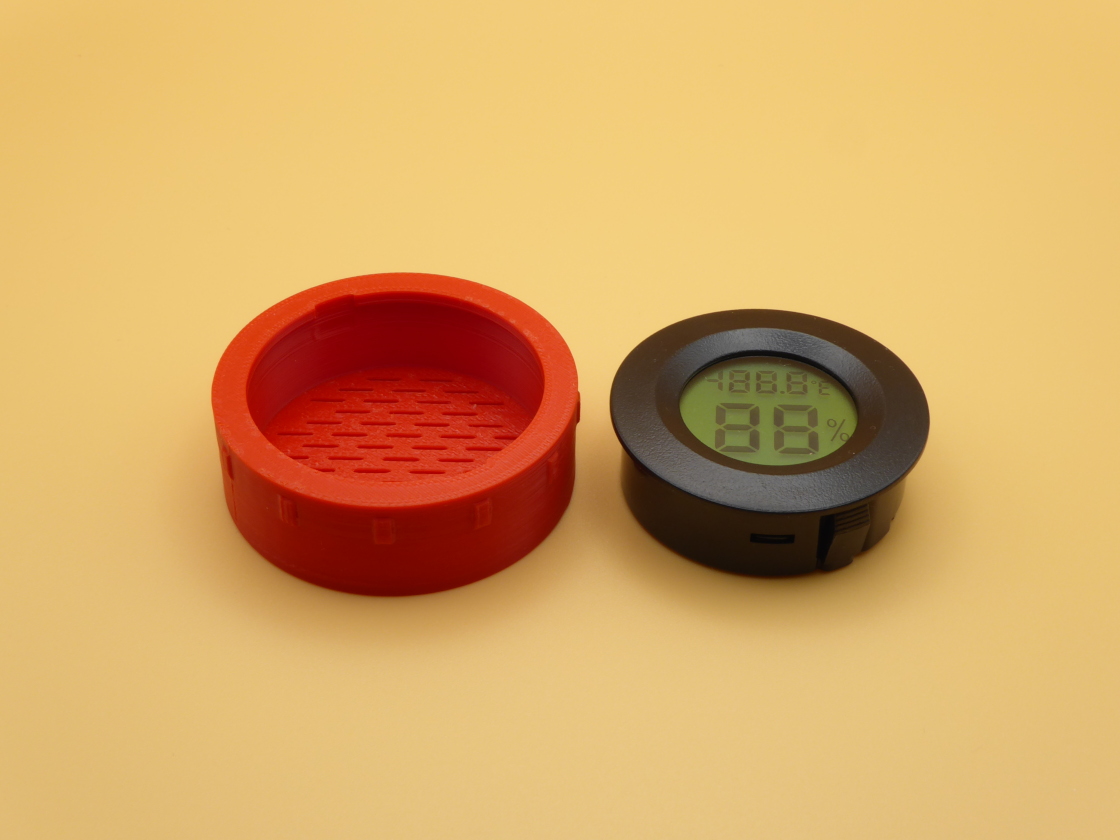
The top part of the canister both closes the bottom part and provides space for the humidity measuring instrument. The base prevents the desiccant from entering the instrument, but the openings allow air to flow through. The socket designed for the instrument securely fixes it, but it is easily removed in case of occasional battery replacement. The ribs running around the top – just like those on the bottom part of the canister – provide a gap for air flow between the canister and the spool. The thread in the gap that opens from below matches the thread on the bottom part of the canister, allowing the two parts to be connected.
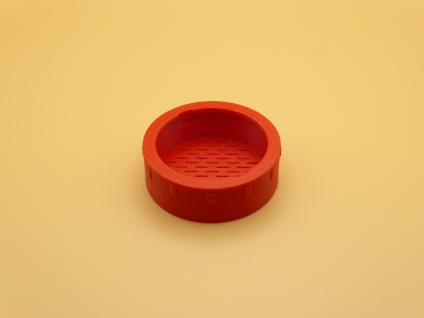
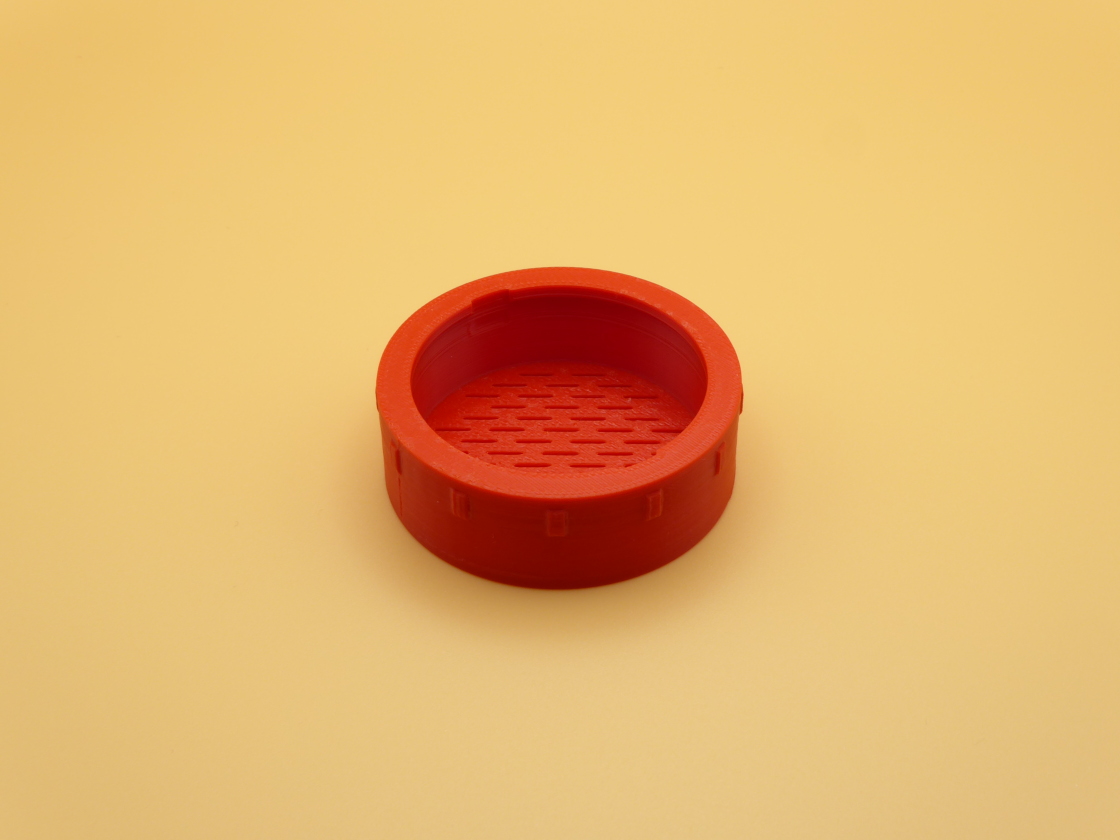
Instrument
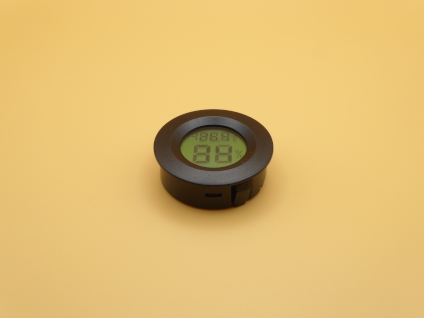
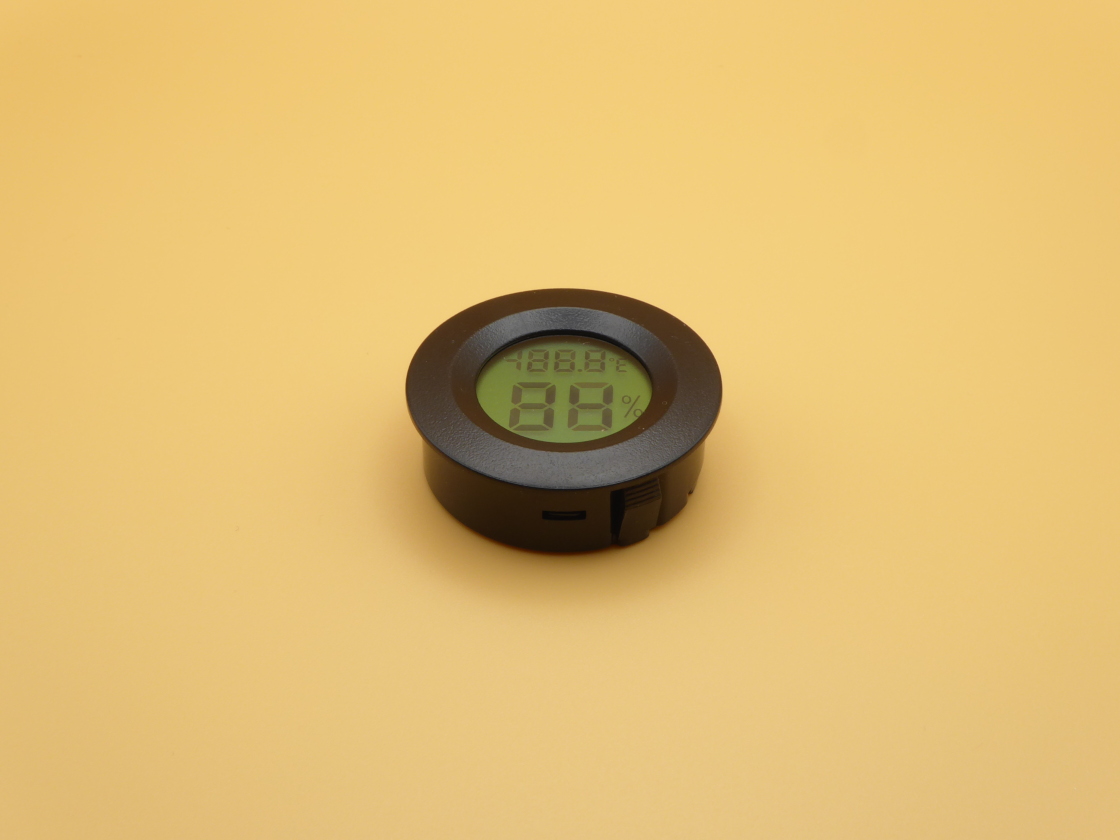
The instrument is a ready-made humidity and temperature measuring module. It is widespread and inexpensive, and easily available on most online shopping sites. There is also a version that comes with an external temperature measuring probe, which is not required for this application. It is powered by one AG13 button cell.
Assembling
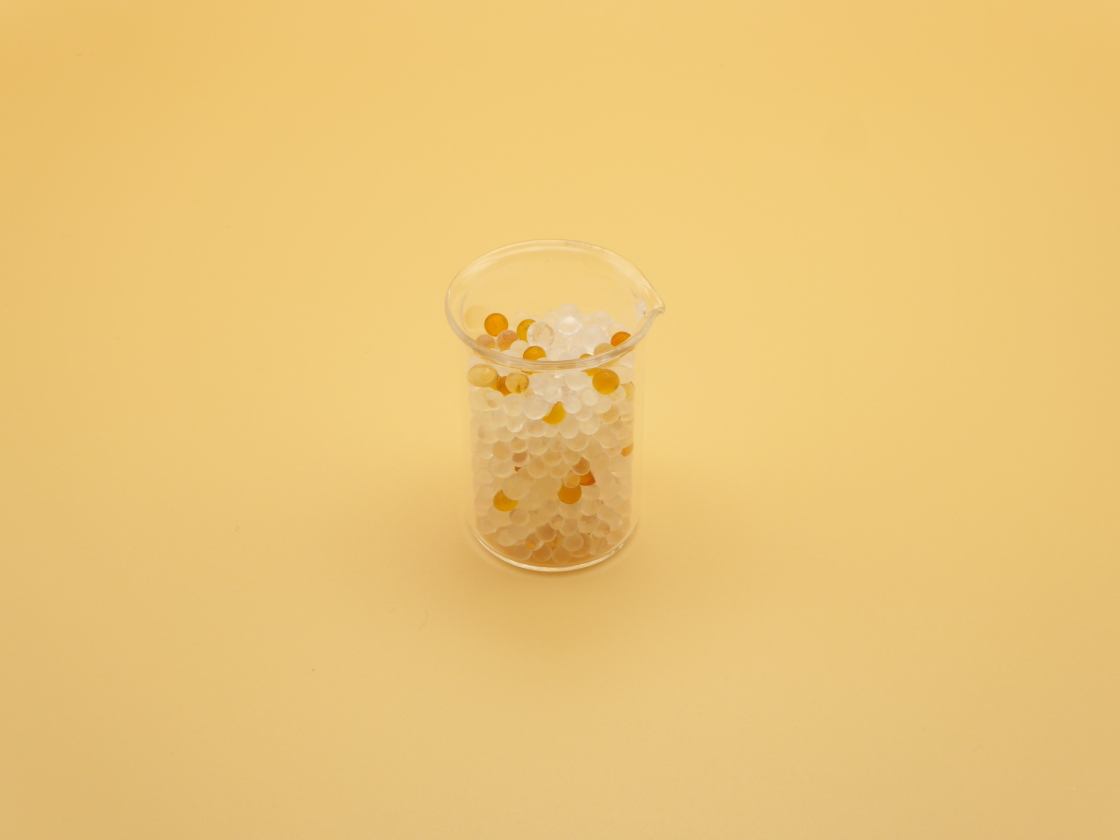
The desiccant should be added to the bottom part of the canister. I used a mixture of 40 g of colorless and 5 g of orange indicating silica gel. The indicating silica gel changes color as it absorbs moisture, gradually changing from orange to dark green. This allows determining its usability by looking at it and can be replaced or dried out if necessary. The amount shown in the picture is just a sample; more is needed to fill the canister. Do not fill beyond the inner rim, otherwise the canister will not be able to close properly.
The humidity measuring instrument simply needs to be snapped into place in the top part of the canister. The two fastening tabs should preferably be engaged at the same time, if the instrument is tilted during installation, it will not easily go back into place. To change the batteries, the instrument must be removed and can be pulled out of its place by lifting its edge.
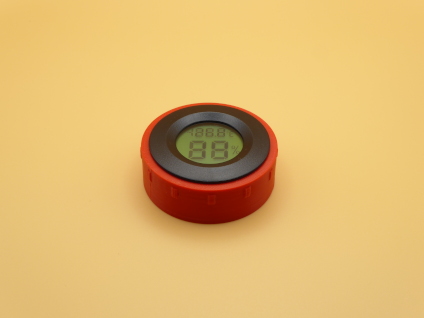
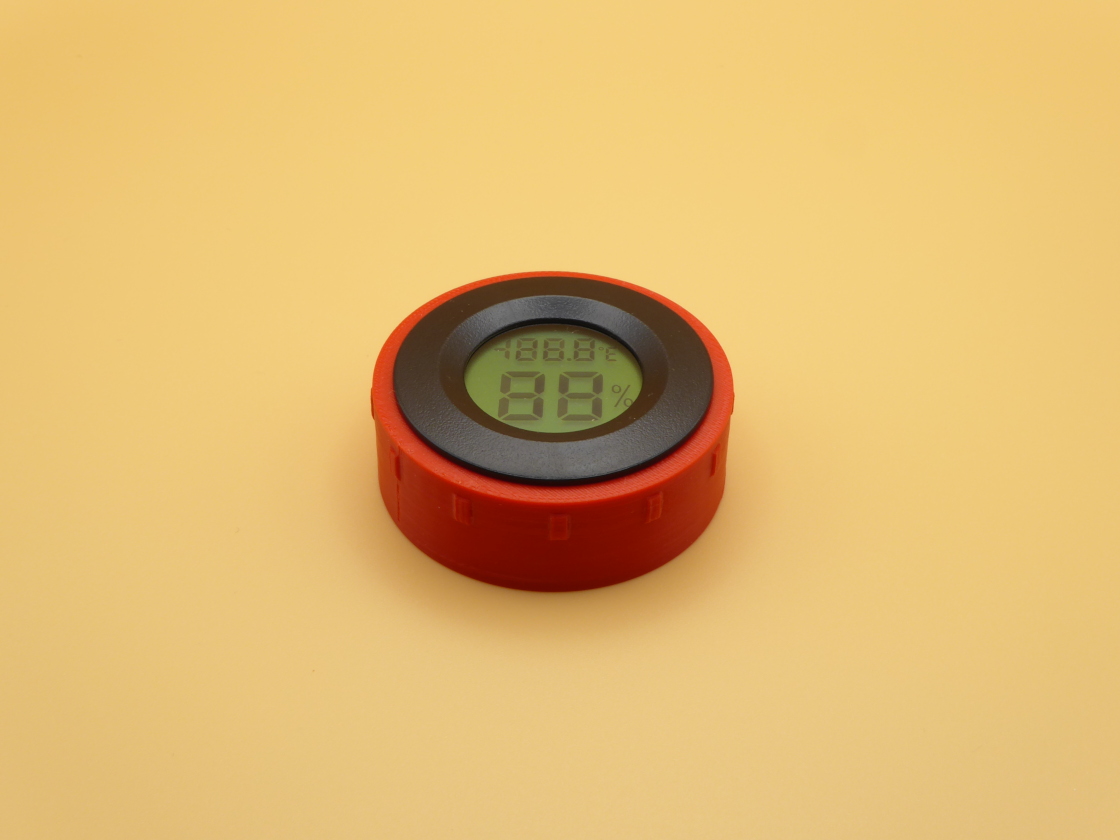
The two parts of the canister can be fastened together using the threads, and no great force is required to tighten.
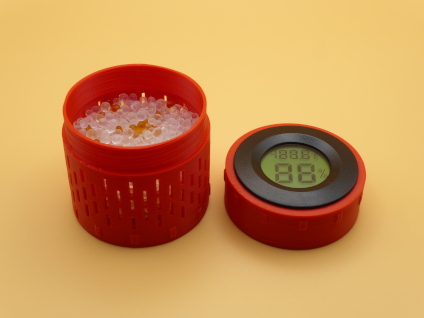
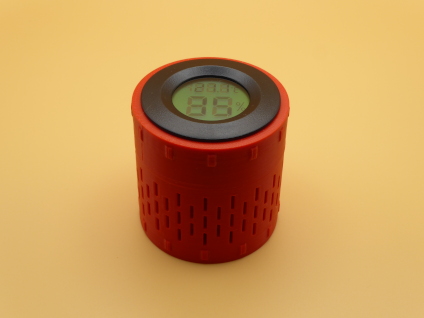
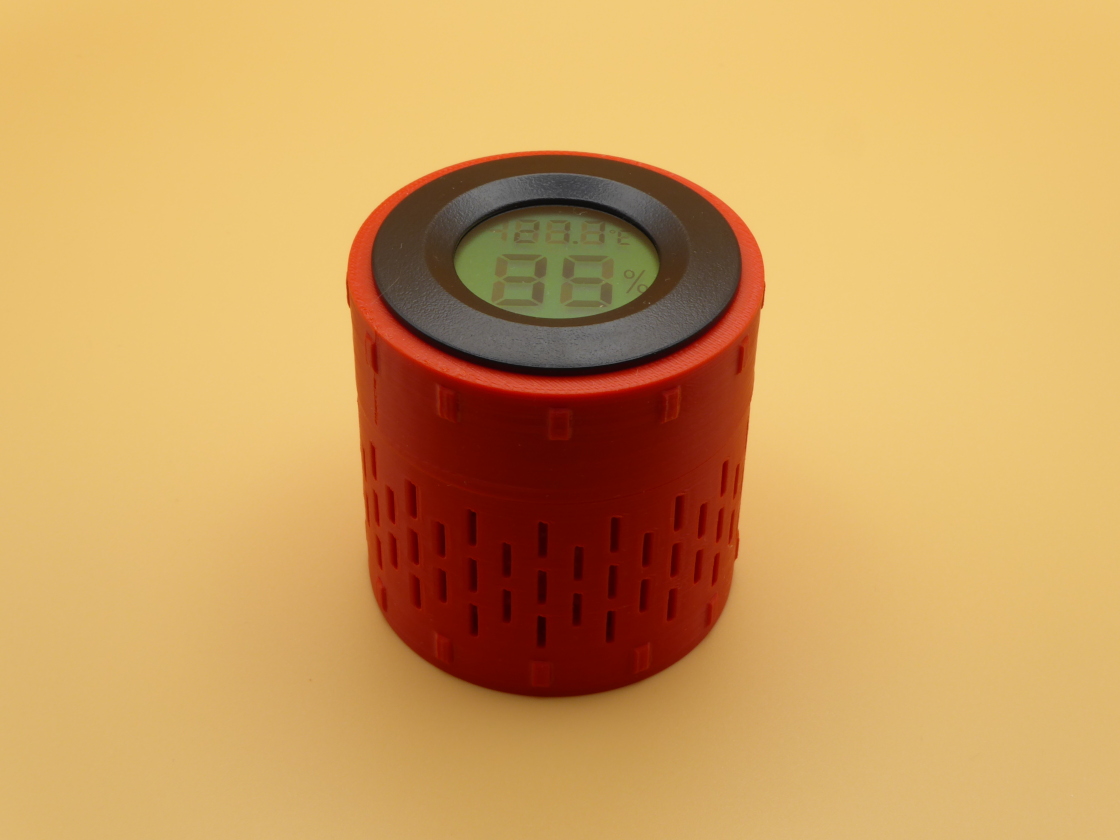
The finished canister should be placed in the center of the filament spool and can be placed together in the vacuum bag. The canister can be used with any spool that has an opening of at least ∅52 mm × 55 mm.